12.10.2012

Recycled Wool Ornament


The other day I showed you those cute little advent calendar bags I recently made.
So I thought I’d also show you what I stuck in one of the bags.

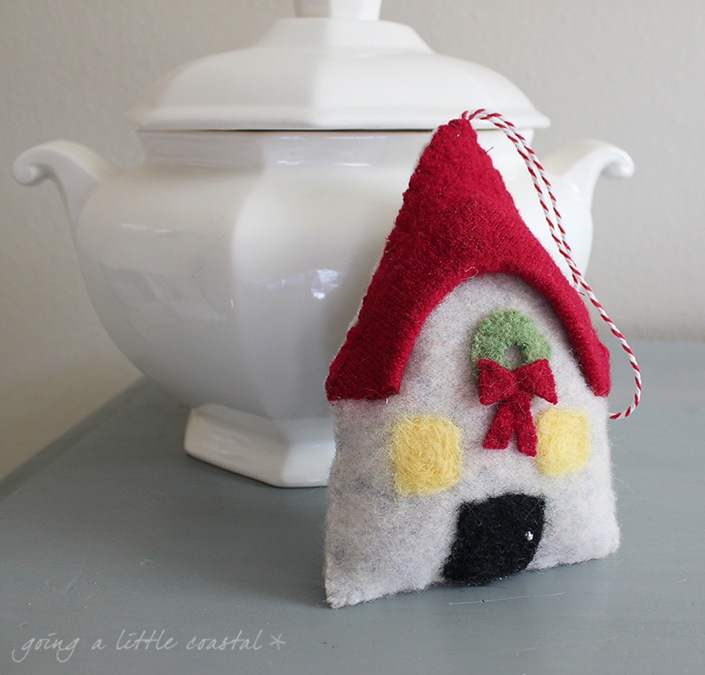
wool house ornament_edited-1

My oldest and his family just bought their first house. I can’t wait to go see it!
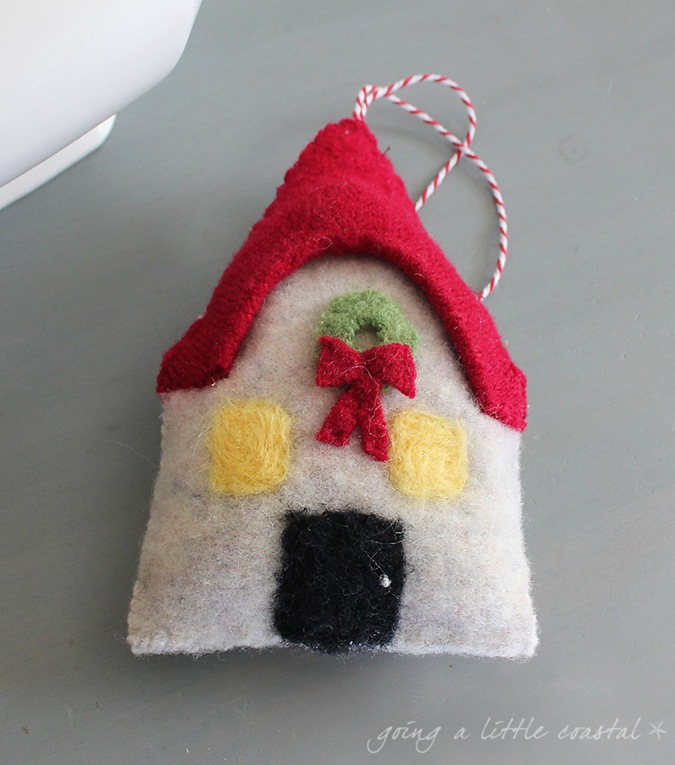
I couldn't find a First Home ornament so I thought I’d sew one up.

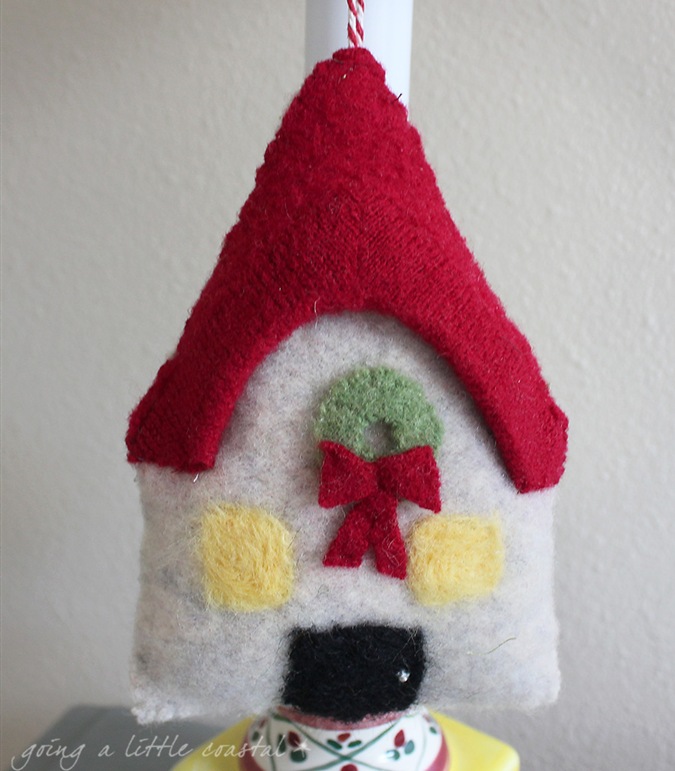
wool house ornament 3_edited-1

I just used some of the scrap pieces of felt wool that I have. The windows and doors were needle felted.

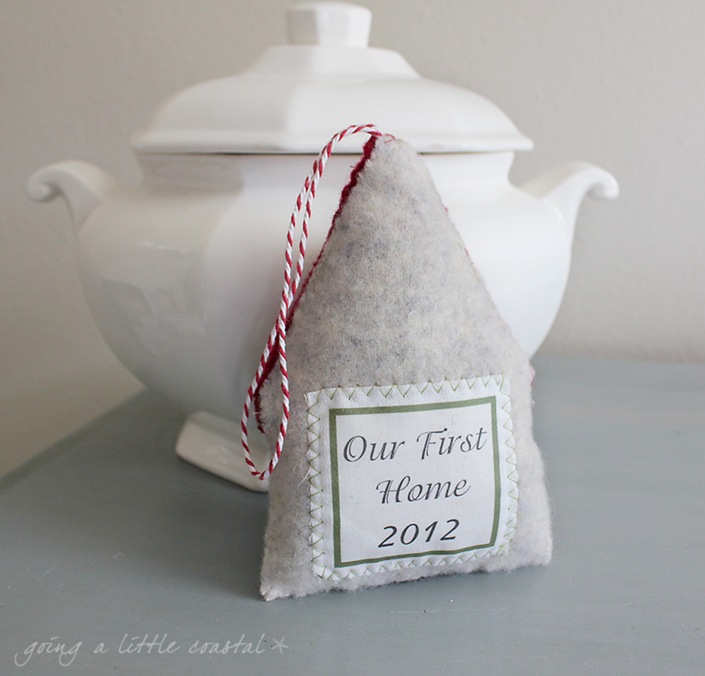
wool house ornament 4_edited-1

Then on the back I printed out Our First Home on some transfer paper and ironed it on some cotton fabric.
  Then machine stitched it on the back. The rest was hand stitched.

wool house ornament 2_edited-1

It’s not a Hallmark but it’s a cute remembrance of their first home together.

Can you guess what the roof is made from?

Linking up with:


Photobucket

12.07.2012

Advent Calendar


Gosh, time is flying by!

How are you? Are you freaking out yet?
Hmmm, maybe it’s just me.

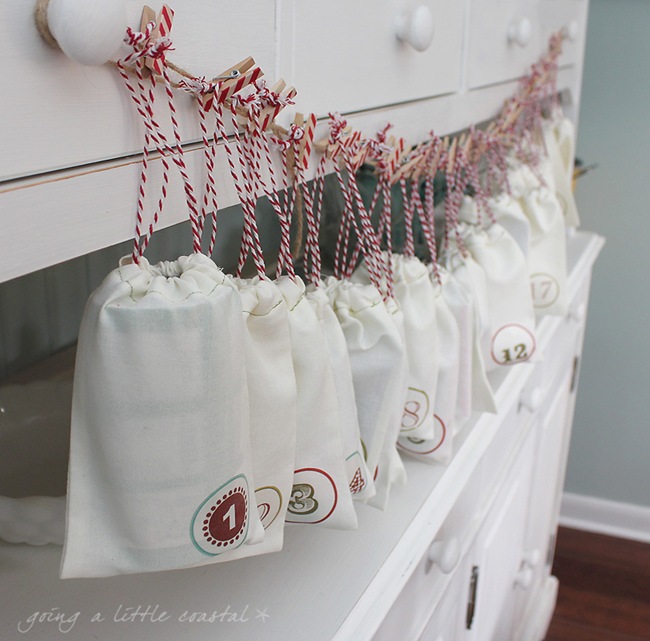
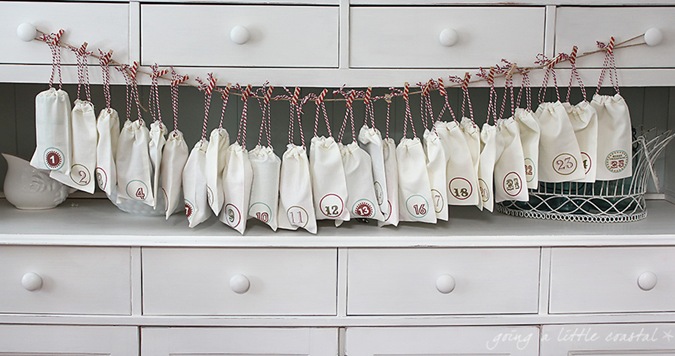
advent calendar bags 2_edited-1

I still haven’t shown you my pictures from Thanksgiving and now I’m rushing to show you this advent calendar I made the other day. I was late getting it out in the mail to a little special someone, so he’ll have to play catch up on a few days.

I saw a bunch of little advent bags on Pinterest. I had planned to order some plain bags but of course time got away from me and so I decided to just make the bags.

Here’s what I did.

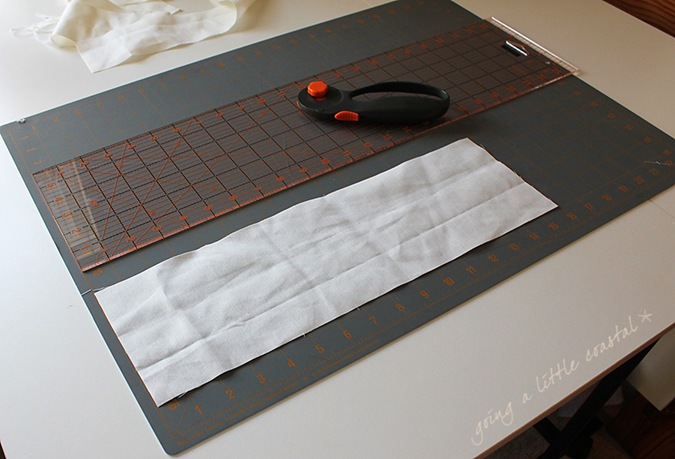
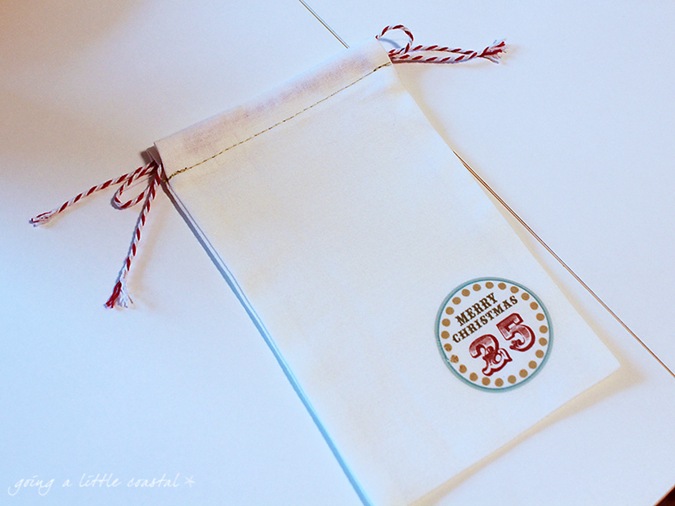
cutting drawstring bag_edited-1

I wanted bags about 4x6 so I cut my fabric 5x16. That gave me extra length to make the casing.

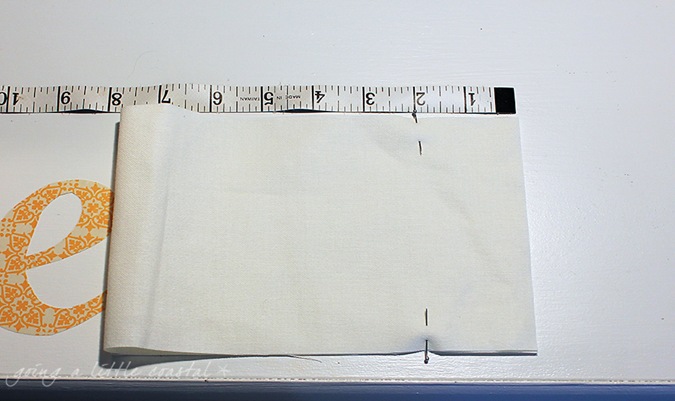
folding bag_edited-1

Fold the fabric lengthwise and mark the top 2 inches.

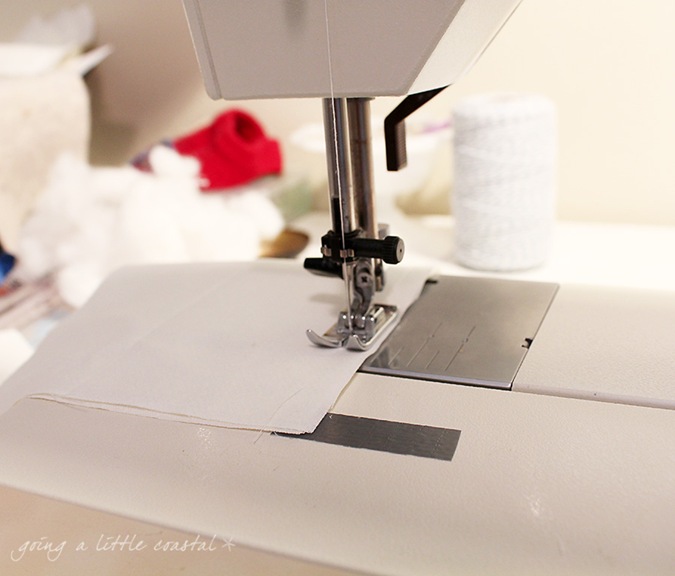
stitching bag_edited-1

Sew each side up to that 2” mark. I ended up just putting some tape on my machine to show me where to stop stitching. It made the process go faster not having to pin them all.

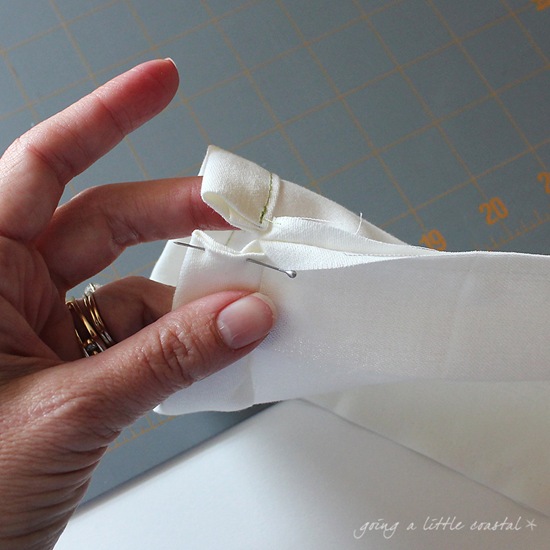
To make the casing you fold in the side seam on the upper 2 inches that were not stitched together.

casing_edited-1

Then fold down the top 1/4 inch,

casing2_edited-1

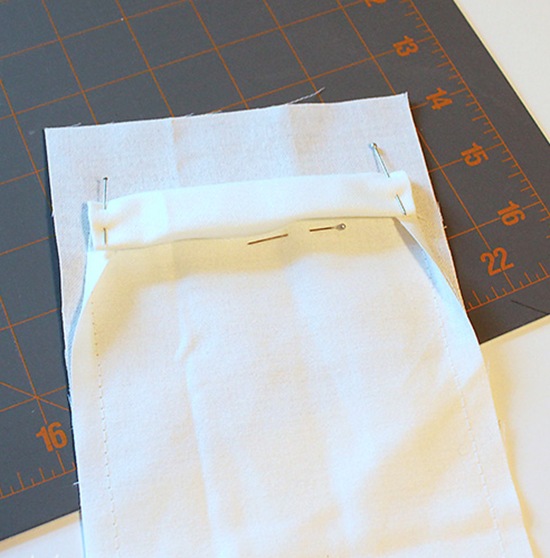
Then fold again down to where you stopped stitching the side seam.

folded_edited-1

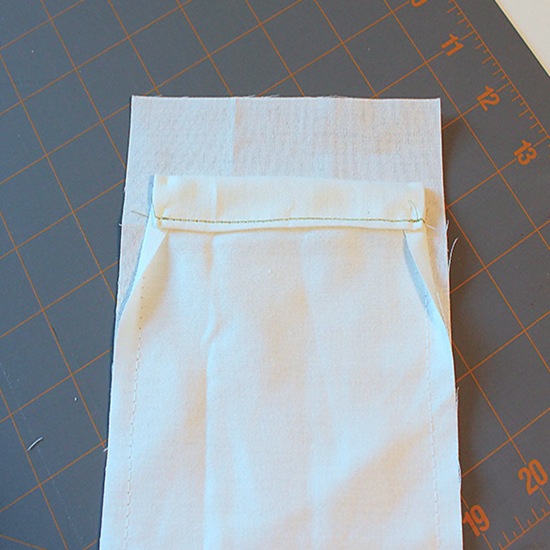
It will look like this. The bottom pin is just to show where the side seam stops. Stitch across one end and then the other. I top stitched in a green thread for some contrast.

stitched_edited-1

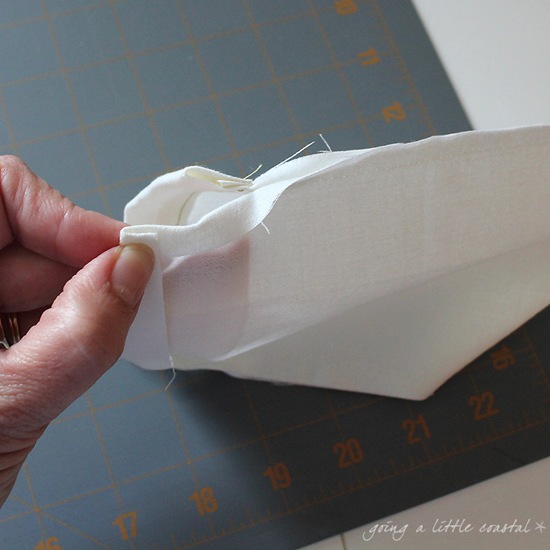
When you stitch one end it will look like this.

casing_edited-1

Then turn them right side out.

supplies_edited-1

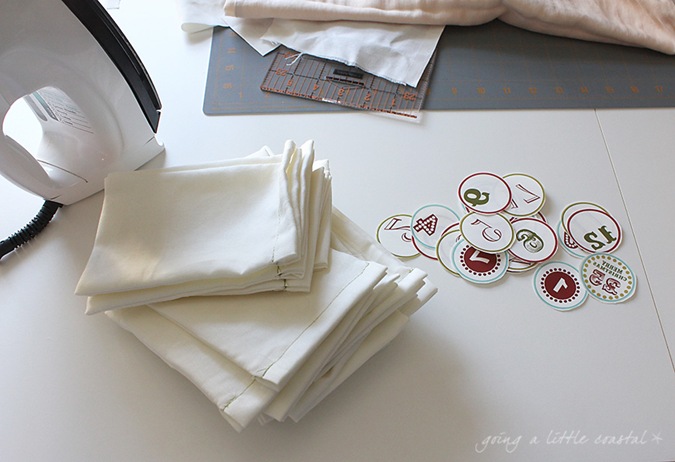
Now you’re ready to put the numbers on! Print out your numbers on some iron on printer paper and set it to flipped or reverse on your printer. So when you iron them on they will look right. I found these numbers on Pinterest. You can google, printable advent numbers, and a bunch will come up.

The bags go much faster than it seems. You find your own rhythm and what’s easier for you.

bag_edited-1

You’ll need to cut two lengths of twine and thread in one direction and then in the other direction. Then knot the two ends together on each side. You’ll then be able to pull each knot out and the bag will close. 
I hope that made sense.

clothespins_edited-1

Last but not least, I used some Washi tape to cover these little clothespins.

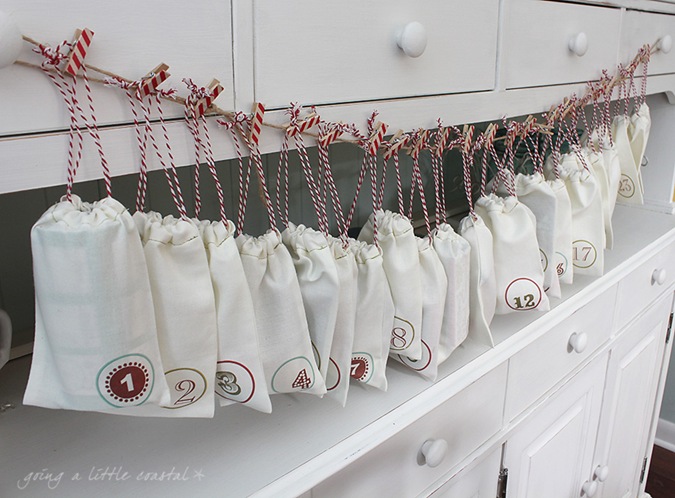
advent calendar bags_edited-1

I think they came out pretty darn cute!
And they’re reusable. Just fill them up each year. I put in little toys and candies. 
But you can put in whatever your think your little special someone might like.

advent calendar bags 3_edited-1


OH!

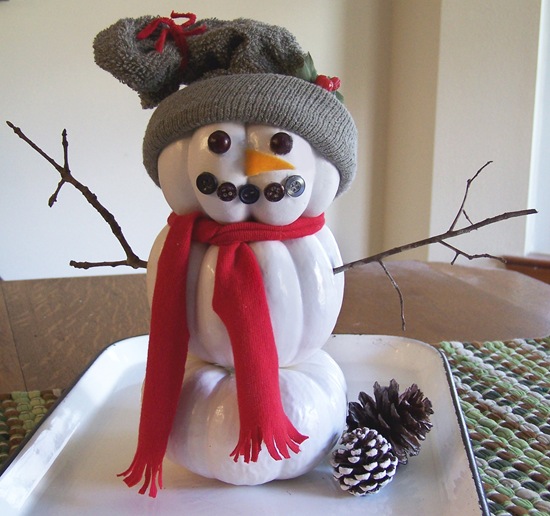
One more thing. Remember this little guy? I made him two years ago out of pumpkins.

100_9276 copy

Well, he’s making an appearance over at Huffpost Home getting his 15 minutes of fame! There are some other great holiday decorating ideas there too. So hop on over and check it out.

Let me know what you think of my little advent bags. They are super easy to make. And if you don’t want to made an advent calendar they would make cute gift bags in any size and you can decorate them any way you like.

Have a great weekend!

Linking up with:
My Repurposed Life
French Country Cottage
Primitive & Proper


Photobucket

11.23.2012

Cyber Shopping!


Hope everyone enjoyed their Thanksgiving! 

I am not one to go out to all the stores on Black Friday. Are you?

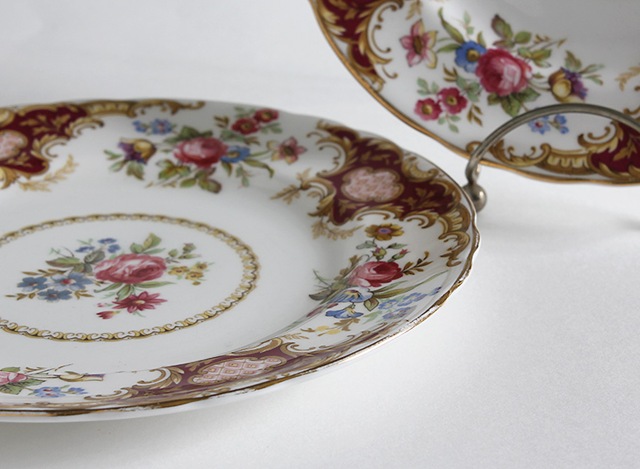
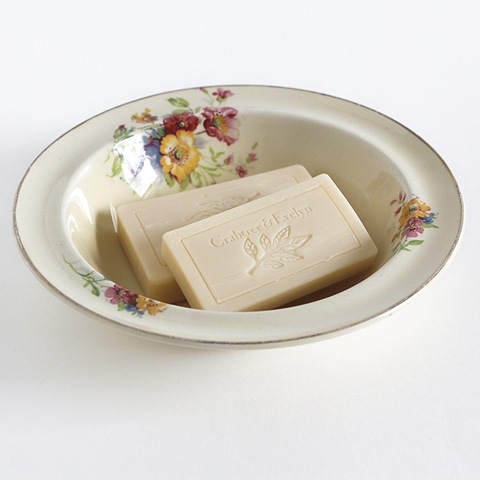
Red Floral Dishes3_edited-1

I’d much rather sit back in my pj’s and shop with the click of my mouse.
No crowds, no wasting gas, no whiny children. Just a cup of coffee and some fuzzy slipper. 
Okay, I can’t guarantee your kids won’t be whiny.

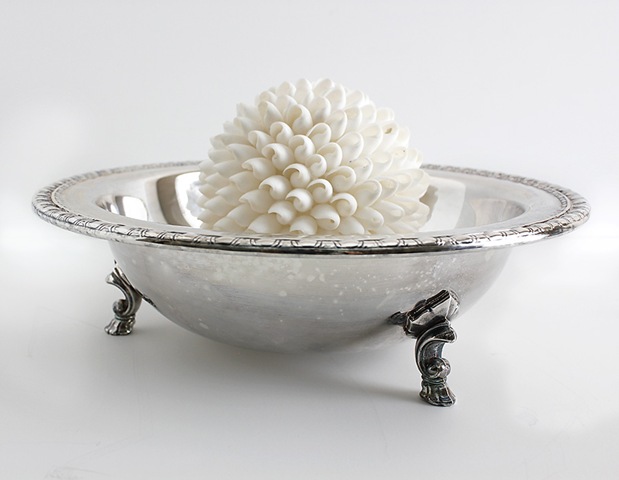
silver footed bowl copy

What would make shopping online even better? 
Why yes, Baileys in my coffee would make it better.
What else?

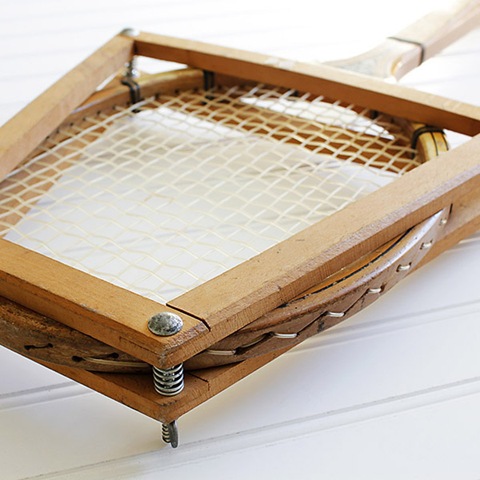
tennis racket wimbledon3_edited-2

A SALE!

Skyland Drive is having it’s very first sale.

Just enter the code CYBERSALE at checkout for 15% off!!

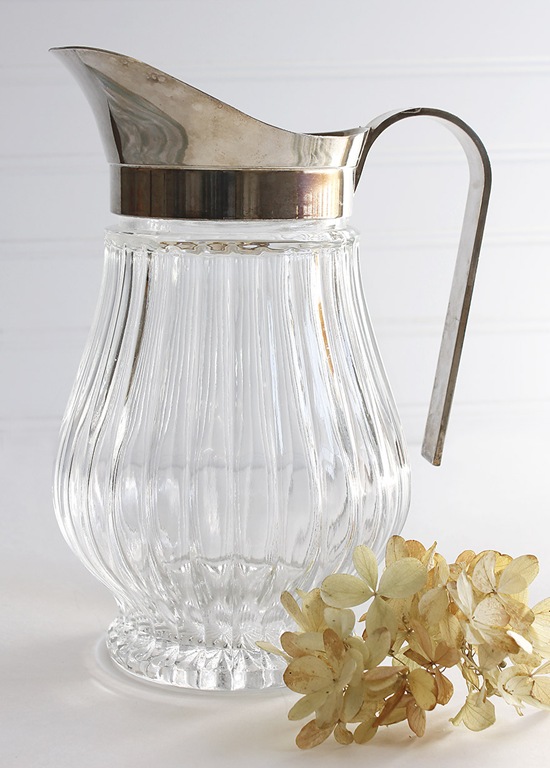
glass pitcher_edited-1

It will run from Black Friday through Cyber Monday. 
So you will have all weekend to pick out your special treasures.

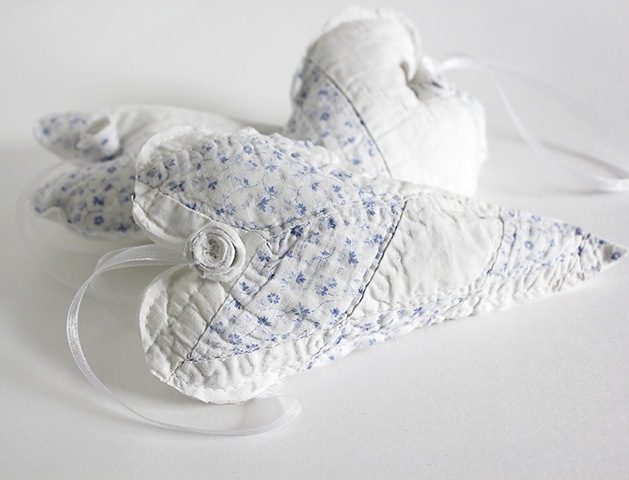
blue quilted heart_edited-1

But don’t wait too long. 
You never know when someone else will fall in love with the very same thing you've had your eye on.

yellow floral bowl3_edited-1

Did you know that if you follow Skyland Drive on Facebook you’ll get to see right away when I list a new item? So stop by for a visit on Facebook. I’d love to see you over there.

I’ll occasionally post specials on my facebook page just for all of the lovely folks that like my page. And remember if you add your favorite pages to an interest list, it helps them show up in your news feed.

So go, shop and save!

Use CYBERSALE for 15% off

Photobucket

11.22.2012

Happy Thanksgiving!


So much to be thankful for this year.

Family, friends, health, jobs and home.

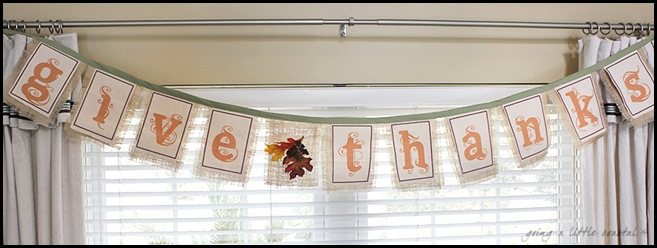
tday banner_edited-1

And I’m thankful for all of you! For coming by and leaving me such sweet comments.

It puts a smile on my face every time.

Wishing everyone a safe and happy holiday weekend.

HAPPY THANKSGIVING!

Photobucket

11.20.2012

Thanksgiving Tables and Place Cards


I cannot believe how fast Thanksgiving snuck up on me.
I confess. I did not even get any of my fall decorations out. 
I might as well just zip on into the Christmas stuff. But not until we get back home.

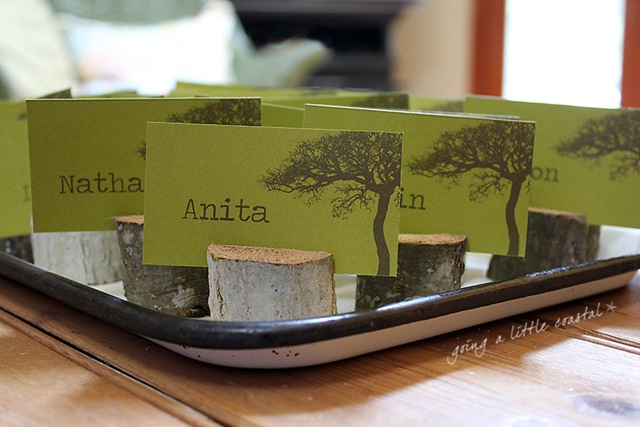
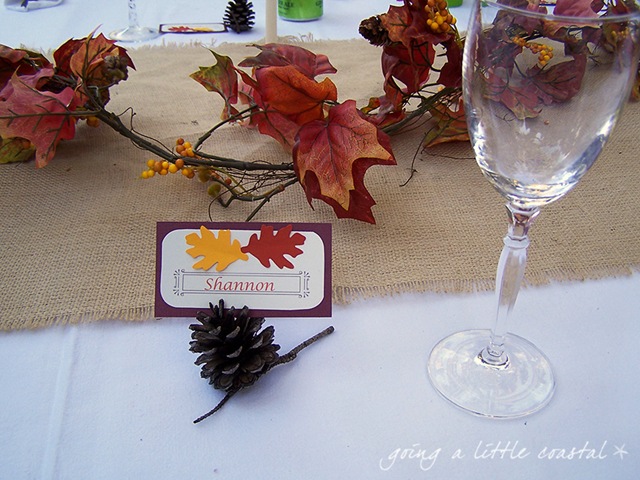
thanksgiving place cards 2_edited-1

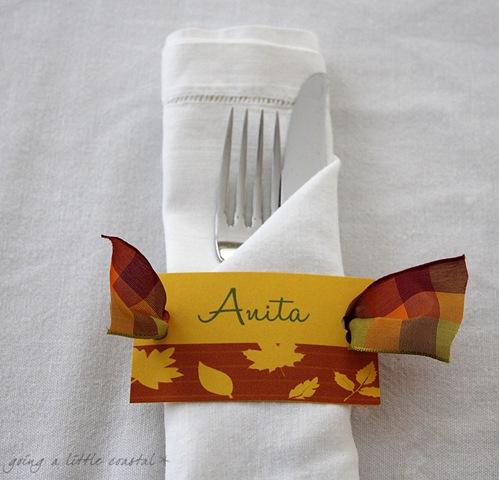
Right now I’m working on place cards for Thanksgiving.
And if you need a last minute idea, then this is for you.

place card holder 2_edited-1

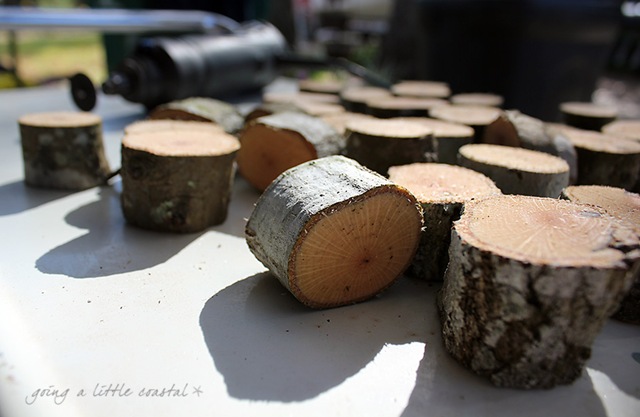
We just cut down a little sapling from the backyard. A thick branch would work too. 
Then we chopped it up into little chucks with the chop saw. And by we, I mean he.

place card holder_edited-1

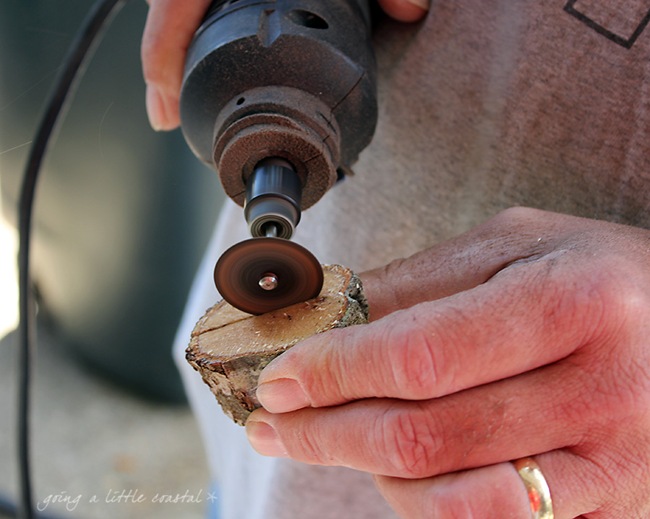
And then HE used the Dremel tool to make little slits. 
All he had was a metal cutting disc but I’d recommend one for wood. 
It took a bit of effort which isn't really safe.

Thanksgiving place cards_edited-1

I printed out the cards on some olive green card stock. I downloaded a brush set from Shadowhouse Creations that had a variety of tree silhouettes. Easy peasy. Except for a little printer glitch. There is always a glitch it seems.


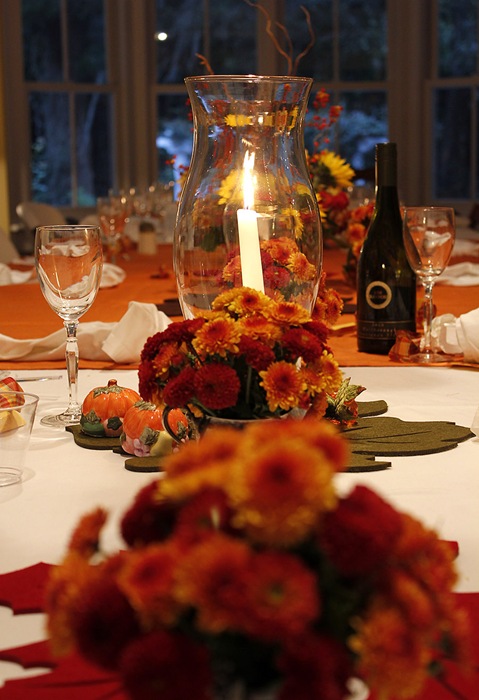
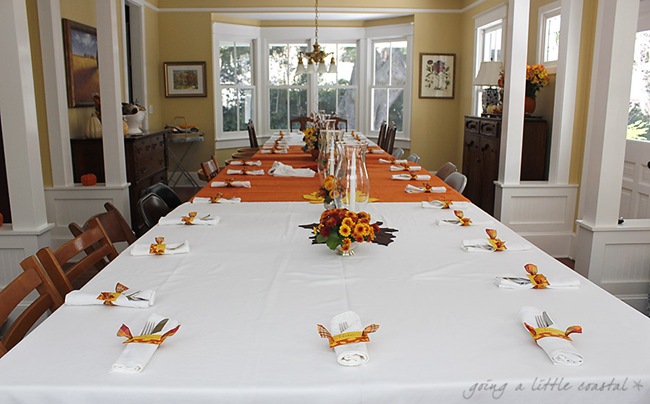
Those of you that have been around here for awhile might remember me mentioning our big Thanksgiving feast that we have at my sister’s house in Jacksonville.
We’re down to 24 this year.

candle copy

We like to eat outside under her big old oak trees. But Thanksgiving 2011 was too windy.

table copy

sugarbowl copy

We had to move it indoors and the table overflowed with kids in the kitchen!
I think we were over 30 last year.


Here is what it looked like outside for Thanksgiving 2010.


And then back in 2009 we were able to set up outside as well.


Place cards can be really simple to do. They have to be when you make so many!

place setting copy

placecard2_edited-1


I hope we can be back under the oaks this year.


I’ll let you know if the weather holds out!
What are your Thanksgiving plans this year?
Will it be big and loud or small and quiet?

And come back later this week. Skyland Drive has something to share with you all!
Think Black Friday or Cyber Monday.
:)
Photobucket

11.17.2012

Empty Nest


It's quiet around here.

We helped son #2 with his big move to Wichita KS. And we all survived!


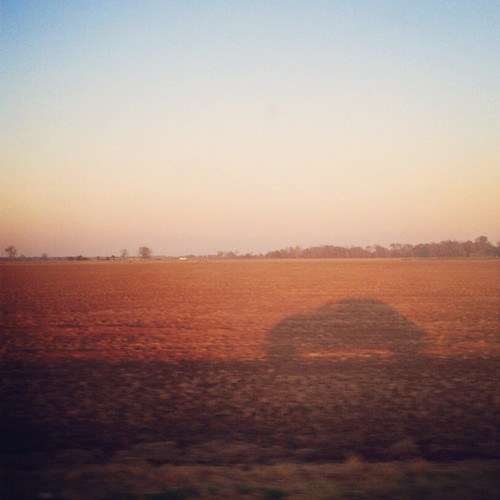
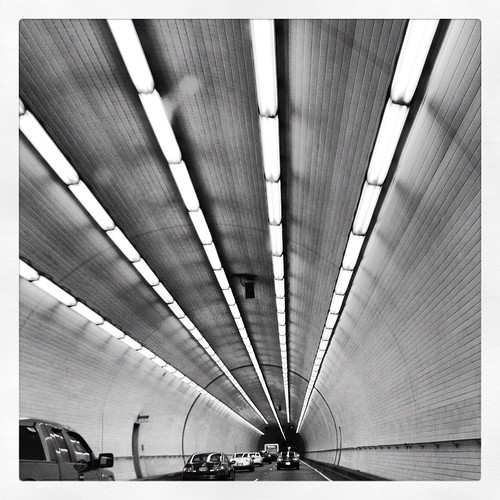
I passed the time taking pictures out the window.
I shared a lot of these on Facebook so if you follow me there, sorry.

We went through Alabama, Mississippi, Louisiana, Arkansas, Oklahoma and Kansas.
1040 miles.
Through tunnels,


over bridges,


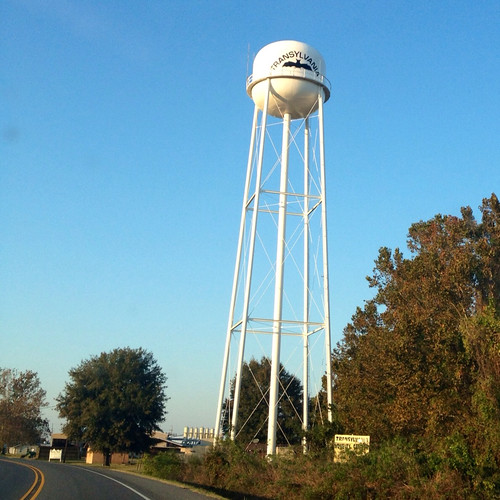
We even went through Transylvania.

I was really happy to finally see some fall colors.


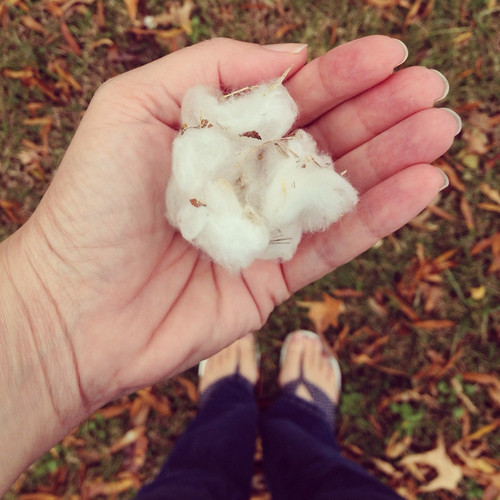
It was so very windy. I found bits of cotton that had blown from the fields to the rest area.


Did I mention the wind?


I'm missing my boy.


No more "What's for dinner?" every day at 5:00.
No more empty milk carton.
No more smelly boy funk in my sewing room.

I think I'll be okay.


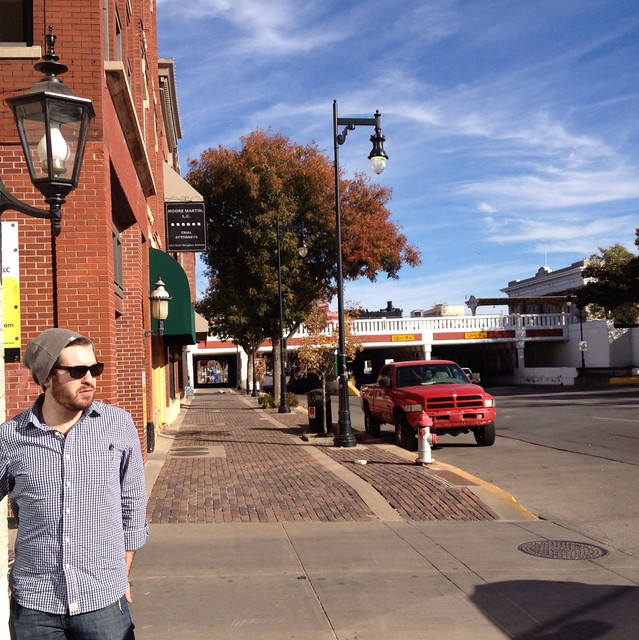
He found a great little apartment in the historic downtown.
Lots of great antique stores nearby. I'll be back for a visit!


LinkWithin

Related Posts with Thumbnails